To add/change a picture click the Change photo link below the image area. The Choose a profile photo window will open. If you wish to upload a picture from PC click the Browse button, locate a desired picture stored on your hard disk drive and double-click it to load.
If you previously filled the social network user field in the contact profile the images from the social networks will be displayed in the Choose a profile photo window. Click the one you wish to use for a contact.
By default, the contact you create is assigned to you. If you wish to appoint another manager for this contact, click the Add user link and select the necessary user. The selected user will be notified about a new contact assigned to him/her.
By default, the access to the newly created contact is granted to its managers only. Check the Allow access to the company/person for all CRM users box if you wish to grant access to all CRM users i.e. make the contact public. Specify the access type selecting the necessary option from the drop-down list:
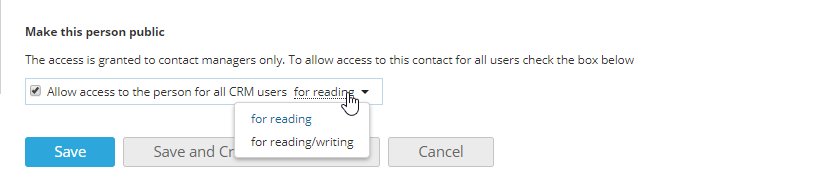
- for reading - to allow all users to view this contact (this option is selected by default),
- for reading/writing - to allow all users to view and edit this contact.
Public contacts are marked with the  icon on their photos.